Stories Worth Reeling In...
Stories Worth Reeling In...
Stories Worth Reeling In...
Last Updated on September 19, 2023
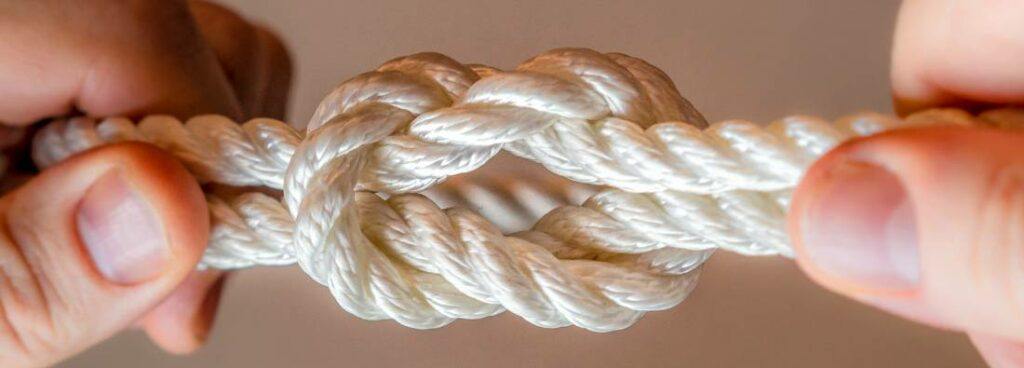
Hey, there, fellow anglers! Pedro here, and today I want to talk about one of the most important aspects of successful fishing, choosing the right knot.
If you’re new to fishing, figuring out which knot to use in different situations can be tricky.
But don’t worry. I’ve got your back!
In this article, I’ll give you a quick rundown of the best knots for beginners to fish with. After reading this, you’ll know how to tie knots like a pro and be more likely to catch more fish.
So, let’s dive in!
Table of Contents
The improved clinch knot, Palomar knot, and uni knot are great options for beginners. They are easy to learn, versatile, and work well for attaching hooks, lures, and other tackles to your fishing line.
Fishing knots are ties used to attach a fishing line to an object like a hook, bait, or swivel.
A lousy knot in your line (which holds your gear to your line) can mean the loss of your catch and possibly your equipment.
But…
To ensure a fishing knot is secure, choose the right knot for your situation, tie it correctly, test it by pulling on both ends of the line, and use a high-quality fishing line.
The durability of a knot is determined by the material of the line, its length, and the method of tying.
Whatever you’re trying to capture, you’ll need a knot to hold it and ensure it doesn’t slip, break, or come undone, causing you to lose the fish.
If you want to be a good fisherman, you must know how to make fishing knots, period!
In the following section, I’ll show you some of the best fishing knots (anyone can do) to get you started on the right foot.
Now for the exciting part: the best knots for beginners to fish with.
In this section, I’ll be sharing step-by-step instructions on how to tie some of the most reliable and easy-to-master knots out there.
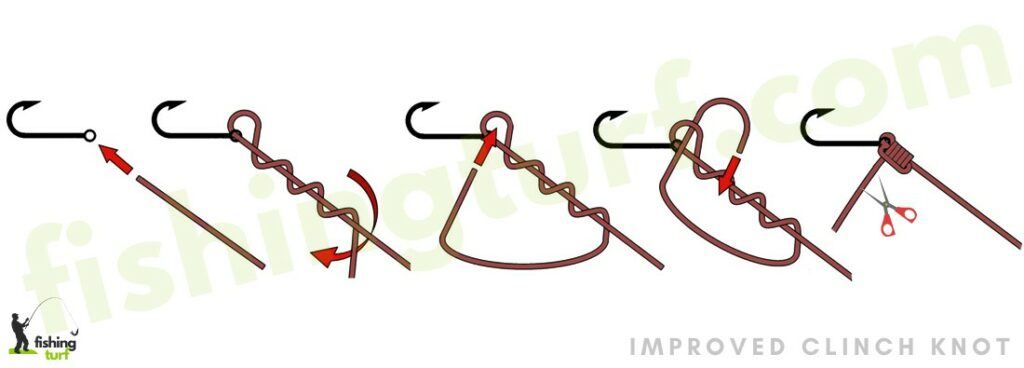
This knot is the best way to connect your line to the hook or lure, and it only takes a few easy steps to tie.
1º Thread the end of your fishing line through the eye of your hook, and then make 5 or 6 wraps around the standing line, starting at the hook and working your way towards the tag end.
2º Take the tag end of the line and thread it through the small loop you made just above the eye of the hook, then back through the big loop you just made.
3º Moisten the knot with saliva or water, then pull the tag end of the line while holding onto the standing line until the knot tightens and fits snugly against the eye of the hook.
4º Use scissors or a knife to cut off the extra tag end of the line.
And that’s it!
With a bit of practice, you’ll be able to tie the Improved Clinch Knot quickly and easily. This will allow you to connect your line to your hook in a strong and reliable way.
Next, we have the Palomar Knot, one of the strongest knots to tie your line to a hook or lure.
It’s a bit trickier to tie than the Improved Clinch Knot, but here’s how you can do it step by step.
The Palomar Knot is now securely tied to your hook, giving your line and gear a strong and reliable connection.
Another great knot for beginners is the Uni Knot. This versatile knot can be used for various purposes, such as attaching a line to a hook or swivel, and it’s easy to tie once you get the hang of it.
For those who prefer a knot that’s easy to tie and has a high success rate, the Double Surgeon’s Knot is a great choice.
This knot is ideal for connecting two pieces of line together, and it’s especially useful when tying the leader to your main line.
Here’s how you can do it!
Last but not least, we have the Blood Knot. This knot is more advanced than the others. Still, it’s an excellent choice for tying two lines together when you need to create a strong, reliable connection.
It’s time to share some tips and tricks you can use along the way to help you tie each knot correctly.
I want to ensure you’ll have the skills and confidence to tie each knot like a pro by the conclusion of this section!
Choosing the right knot can make all the difference in successful fishing. In this section, I’ll be sharing some tips on how to choose the right knot for the type of fishing you’re doing.
The first factor to consider when selecting a knot is the type of line you’re using.
Different lines require different knots to connect your line and your gear strongly.
For example, a braided line may require a different knot than a monofilament line.
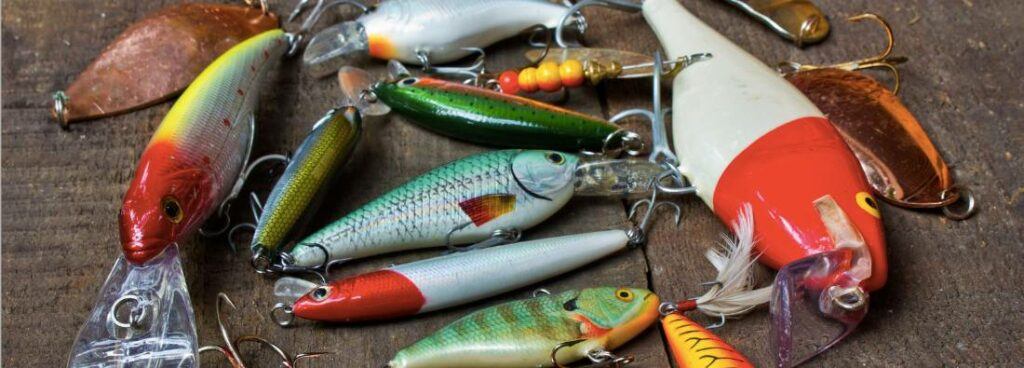
Another factor to consider is the type of lure you’re using.
Some lures may require a knot allowing more movement or action, while others may require a knot that holds the lure in place.
Lastly, the species of fish you’re targeting can also affect the type of knot you should use.
Some species may require a knot that can withstand the fish’s strength and aggression, while others may require a more delicate knot that won’t scare them away.
By considering these factors, you’ll be able to choose the right knot for your fishing type, ensuring a strong and reliable connection between your line and your gear.
Knots can fail due to slippage, friction, poor construction, or excessive turns. Anglers can prevent knot failure by selecting the right knot for the situation, ensuring proper tension, and regularly inspecting knots for wear.
To summarize, understanding and mastering the art of tying fishing knots is a must-have talent for any angler, regardless of skill level.
But it’s not just a matter of understanding how to tie knots; it’s also a matter of selecting the right knot for the job.
You can choose the best fishing knot by taking into account variables such as line type, lure type, and fish species.
I hope this article has helped you better understand the importance of choosing the right knot and provided you with the knowledge and skills to tie it.
Now, it’s time to grab your gear and hit the water.
Happy fishing!

Great article on fishing knots. I use to fish with my uncle back in the 70’s when he was still alive. He loved salt water and fresh water fishing. I was able to learn that blue gill are fresh water and croaker and flounder are salt water. He had a 25 footer Fiberform for the ocean and also a lake boat for the fresh water fishing. We use to use bamboo poles on the lakes in Suffolk, Virginia and my uncle use to use the double surgeon I believe alot, or at least it looks like that. He also used the Palomar but he never taught me the different names of these knots. So thank you for that educational piece. Great article buddy!
Hey there, and thank you for sharing your fishing memories!
You had a great time fishing back in the day, and it’s great that you learned about various types of fish and boats and, of course… fishing knots! 😉
I’m glad you found my article on fishing knots useful and even remembered knot names like the double surgeon and Palomar.
Feel free to reach out if you have any other questions or want to share more fishing stories.
Tight lines, friend!